Wednesday, November 30, 2011

It's a Bombshell Blog Hop!

Hello everyone. I am interrupting my regularly (well almost regularly) scheduled Waste Not Want Not Wednesday to bring you Bombshell Stamps November Blog Hop: Autumn Breeze. I used my guest DT stamp set Butterfly Queen to make this card. I colored her with Copics, Magical Micas, and some Acrylic Ink. 

The inspiration we were given was a color set.


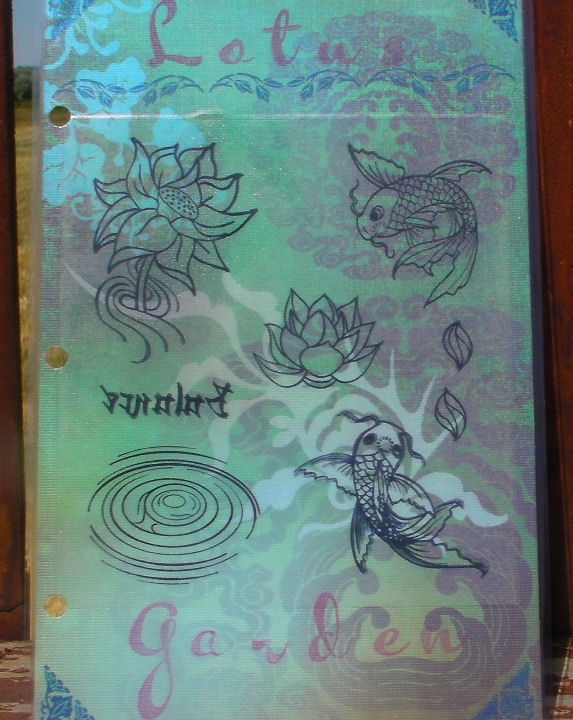
And here is my card:

Be sure to Hop along with us and comment on all the blogs for chances to win a Bombshell Stamp set.


Monday, November 28, 2011

A Stocking Experiment!

Silly pun aside, this is about trying different ways of coloring stockings on the Butterfly Queen. For three of these ladies I stamped them in black pigment ink instead of the usual archival ink. I found that it works a lot better because Copics and other water based colors do not bleed with it. Of course you want to let it dry for quite awhile before you're ready to color.


The first lady has Pearlescent Arylic Ink stockings by Daler and Rowney.
Lady number two has Magical Mica stockings
Lady number three has water color pencil stocks
And the last lady has glitter stockings!

I think my two favorite styles is the acrylic ink stockings and my usual water color pencil stockings. The glitter stockings look better from far away, but I found it hard to get an even coverage of glitter on her legs. 

Please do let me know which style of stockings you prefer!

Sunday, November 27, 2011

It's a Bombshell Christmas!

Okay, so it's not quite Christmas yet. But I wanted to show off the card I made using the Butterfly Queen set from Bombshell Stamps:


I started with a basic brown card and stamped the flowers in the background in Walnut Stain Distress ink. I stamped my lady here in archival ink and colored her with Copics, Magical Micas, and water color pencils. I did a bit of distressing around the edges of the other page and I added a Christmas sentiment from a Paper Studio rub-on set. All in all, it just goes to show you that this set can be used any time of the year!

Friday, November 25, 2011

It's a Bombshell Sale!


Click on the picture to head over to Bombshell Stamps!


It's Bombshell's Black Friday through Cyber Monday Sale!

Receive 25% off your entire purchase from NOW through Monday, Nov. 28!

Just use coupon code "CYBR30" at check out!
*****

Sunday, November 20, 2011

Bombshell ATC


I love the idea of Artist Trading Cards. This is my first chance actually doing one. I hope to eventually start a collection. The idea of having a little piece of art made by someone else is fantastic. 


Here I took a plain watercolor ATC and added some distress ink for extra depth of color. I then added some Starburst stains to get the sparkly pink and brown. I used part of a new stencil that I bought by The Paper Company and added that with some gold pigment ink. The swirl in the top corner is from Bo-Bunny. I embossed the stamped phrase with some black embossing powder. Finally I stamped a butterfly from the Butterfly Queen set and colored it in with some Magical Micas. I fixed it on using some dimensionals.

Wednesday, November 16, 2011

Waste Not Want Not Bombshell Style

Here is my card for my challenge over at Bombshell Stamps. I used some orange paper and colored it with Lindy's Products and stamped some butterflies. I also had to alter the purple background paper behind my focal image because it was red! I used some Nestabilities to cut out the shapes and stamped my butterfly and embossed it with purple embossing powder.


Whew! I think I've finally run out of that retro paper! Here is another scrap card from me using the Butterfly Queen set. I love the bombshell in this stamp set because it is so easy to create relatively simple cards with her. Here I used just some scraps of that same paper I've been using for awhile. On the edge I used stickers from that same set as a border. It still felt a little too  plain so I added the stars. As usual I colored most of my lady here with Magical Micas by Lindy's Stamp Gang. I colored her skin with Copics and added the stockings to her legs with a water color pencil.

Wednesday, November 9, 2011

Waste Not Want Not Bombshell Style

Here is my version of November's sketch challenge over at Bombshell Stamps. Yet again I'm using up the rest of the scrapbook paper I bought to do my Bombshell Binder. I'm pretty much out of it now so I will have to come up with some more fun ideas! And stay tuned next week for my challenge on the Bombshell Blog!

Sunday, November 6, 2011

Tutorial: How to make a panel for your cling stamps

Custom Cling Stamp Panel Tutorial

Tools:
heavy weight cardstock
transparency paper
solvent ink pad
cling mounted stamps
laminating machine
adjustable hole punch
Super 77 Multipurpose adhesive (or another super strong adhesive)
Decorative elements (optional)

Note: This tutorial is meant to make a stamp panel for Univenture A5 Mini Binder seen here
These binders are awesome for holding all your clear and cling mounted stamps. They are the most cost and space effective that I've seen so far.

Step 1 
Cut your cardstock to 5.5 x 8.5 inches. An easy way to do this is to take an 8.5x11 sheet of cardstock and cut it in half.

Step 2
Decorate your paper as you would like. I added some distress ink to make it look more like an old newspaper. I also added a colored square of paper in the center so my stamped images show up better.

Step 3
Cut a transparency sheet to the size you want. I like to leave space all around my transparency for the laminate to adhere to the paper later on. Then stamp your pages on the back side of the transparency. I'm using ink jet transparencies here and it's easy to tell the back side because it is rough. If you're using a sheet of plastic it doesn't really matter much.
I had to rearrange the stamps a little to get them to fit how I wanted.
Now you need to let the ink dry thoroughly. 

Step 4
Spray some glue onto the underside of your transparency. If you can read any words then you are gluing the proper side. If you have no words just make sure you are putting glue down on the side you initially stamped on. You want to use really strong glue so the transparency stays on the paper after lamination. I suggest this kind of uber spray glue.

immediately after applying the glue place your transparency on your paper where you want it. I usually take a brayer at this point to make sure that the transparency is completely on the paper.


Step 5
Be sure to label your stamp set so you know which one you  have. I used some stickers here but you can stamp or just write the set title out.

Step 6
Run through your laminating machine. Be sure to use the proper laminating sheets. I learned this the hard way. I bought a huge set of cheap sheets from Sam's Club but they don't work very well with my Scotch Thermal Laminator. Trim the sheet up after you are done.

Step 7
Punch some holes! I have an adjustable hole punch where I just moved the holes to fit a 8.5 tall sheet of paper. You may have to play around a bit to make sure that the holes are in the right spot. You can also use a manual one-hole punch as long as you can eyeball it well enough.

Here is my custom stamp panel all nice and cozy in its stamp binder:


A few other stamp panels:


My Bombshell Stamp Binder:

Wednesday, November 2, 2011

Waste Not Want Not Wednesdays - Bombshell Style

Here are a few cards I made for the forum relaunch contests we're having over at Bombshell Stamps. Since I am the guest DT for the month of November I got to play with the Butterfly Queen set! I created these three cards with leftover paper from making my Bombshell stamp binder (tutorial and pics forthcoming).


These cards and two others I've made (and will post tomorrow) will be up for grabs as a prize for the contests.