Custom Cling Stamp Panel Tutorial
Tools:
heavy weight cardstock
heavy weight cardstock
transparency paper
solvent ink pad
cling mounted stamps
laminating machine
adjustable hole punch
Super 77 Multipurpose adhesive (or another super strong adhesive)
Decorative elements (optional)
Note: This tutorial is meant to make a stamp panel for Univenture A5 Mini Binder seen here
These binders are awesome for holding all your clear and cling mounted stamps. They are the most cost and space effective that I've seen so far.
Step 1
Cut your cardstock to 5.5 x 8.5 inches. An easy way to do this is to take an 8.5x11 sheet of cardstock and cut it in half.

Step 2
Decorate your paper as you would like. I added some distress ink to make it look more like an old newspaper. I also added a colored square of paper in the center so my stamped images show up better.
Step 3
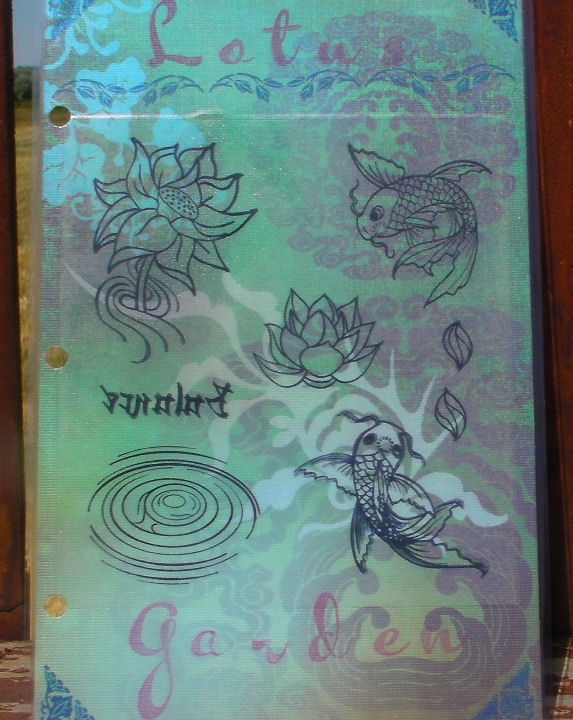
Cut a transparency sheet to the size you want. I like to leave space all around my transparency for the laminate to adhere to the paper later on. Then stamp your pages on the back side of the transparency. I'm using ink jet transparencies here and it's easy to tell the back side because it is rough. If you're using a sheet of plastic it doesn't really matter much.

I had to rearrange the stamps a little to get them to fit how I wanted.
Now you need to let the ink dry thoroughly.
Step 4
Spray some glue onto the underside of your transparency. If you can read any words then you are gluing the proper side. If you have no words just make sure you are putting glue down on the side you initially stamped on. You want to use really strong glue so the transparency stays on the paper after lamination. I suggest this kind of uber spray glue.

immediately after applying the glue place your transparency on your paper where you want it. I usually take a brayer at this point to make sure that the transparency is completely on the paper.

Step 5
Be sure to label your stamp set so you know which one you have. I used some stickers here but you can stamp or just write the set title out.
Step 6
Run through your laminating machine. Be sure to use the proper laminating sheets. I learned this the hard way. I bought a huge set of cheap sheets from Sam's Club but they don't work very well with my Scotch Thermal Laminator. Trim the sheet up after you are done.
Step 7
Punch some holes! I have an adjustable hole punch where I just moved the holes to fit a 8.5 tall sheet of paper. You may have to play around a bit to make sure that the holes are in the right spot. You can also use a manual one-hole punch as long as you can eyeball it well enough.

Here is my custom stamp panel all nice and cozy in its stamp binder:

A few other stamp panels:

My Bombshell Stamp Binder:

Neat tutorial. What a kewl way to organize stamps (especially bombshell)
ReplyDelete